I have been making hand-written and hand-bound version of some of my stories lately to both sell and giveaway as prizes. I thought I’d run through how I do it so others can follow suit.
The first part is finding the right paper. For the latest one I made I bought parchment paper in A4 sheets. Using the dimensions of the sheet folded in half I worked out a margin around the page and how many lines would fit on if they were 8mm tall and I left room at the bottom of each page for the page number.
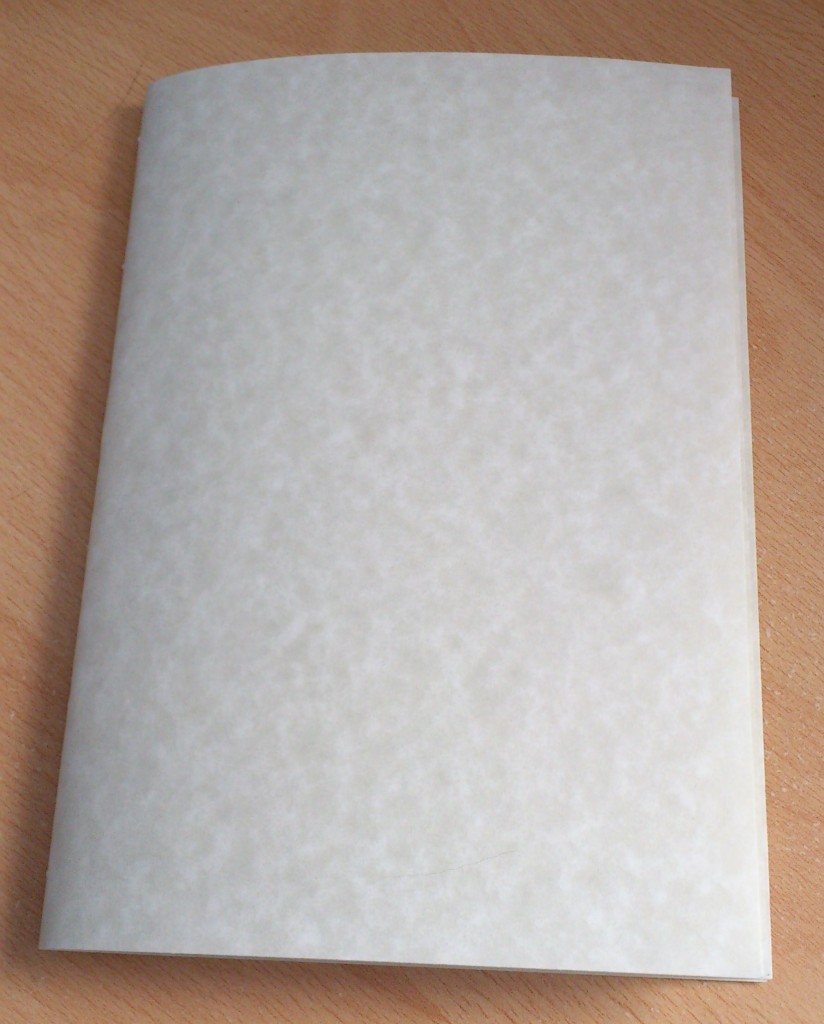 Once I’d done that I worked out roughly how many of these pages I’d need to fit the entire wordcount of the story. In the case of Wandering to Belong (the example I’m using for my pictures), Which is 16,150 words long, I’ve got 22 A4 sheets which will give me 88 pages to work with (187 words per page being my work with number). I’ve split the sheets in three and folded each set of 7, 7 and 8 A4 sheets in half together, making 88 pages in the new booklet. Please bear in mind the front two pages will just be title and then a blank page or page for a message before you start the book.
I recommend splitting pages into groups where there are between 6 and 12 sheets per section and the sections are as even as possible. So this could also have been split into 11, 11 to make it two sections rather than three(I usually lean towards the smaller number for eace of recalculating as I go through). Only do the next few steps for the first section as you may find your calculation was a little off and you need to adjust the number of pages in each section to account for the extra or less words you can fit on a page. (The more of these you do, the more you’ll get used to what you need).
 Once the pages have been folded and there is a nice defined fold line right in the middle, hold them open and mark 6 dots at even intervals along the middle with each end dot being 1.5cm’s away from the edge of the paper (if you use A4 paper the dots go at 1.5, 5.1, 8.7, 12.3, 15.9, and 19.5cm’s along the centre fold). Then, using a sharp needle (you will definitely need some kind of thimble) make holes through all the sheets in the section at the same time. I find this easiest with the pages almost totally folded over the needle and it standing up so I’m pushing the needle horizontally. That way I can make sure the needle comes out the fold at the back and doesn’t veer off to one side.
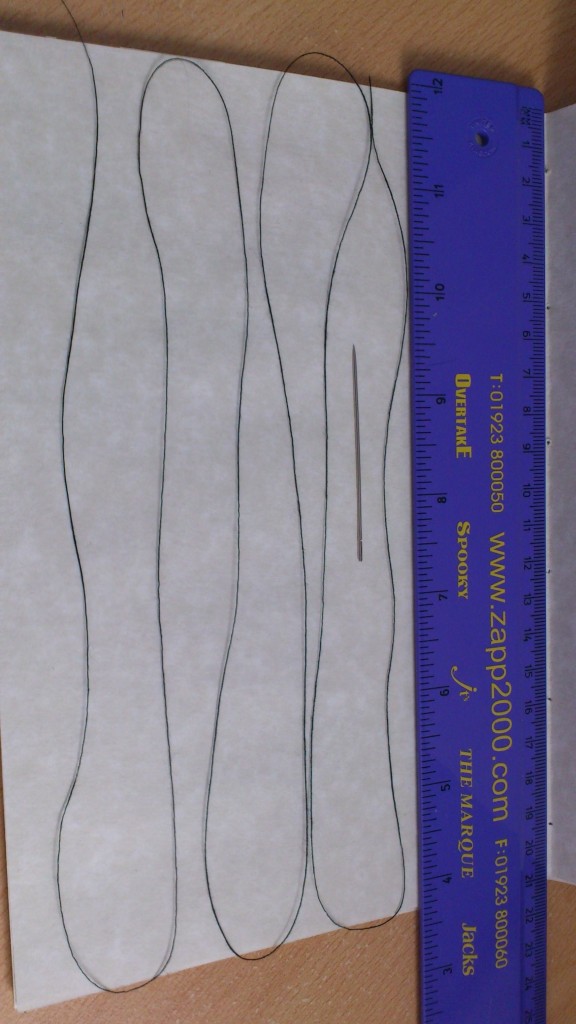 I then pick my colour of thread. Sometimes I pick a colour that blends in and sometimes I deliberately pick a colour that stands out. Here I’ve got black thread. I cut off about 6 times the length of the folded edge for my thread length and make a reasonable large knot in one end. Then I start from the back and the top hole and thread through to the front, then move down a hole and thread back, without pulling the thread through too tightly. I want it to be reasonably tight but not to risk pulling the knot through the top hole or ripping the page.
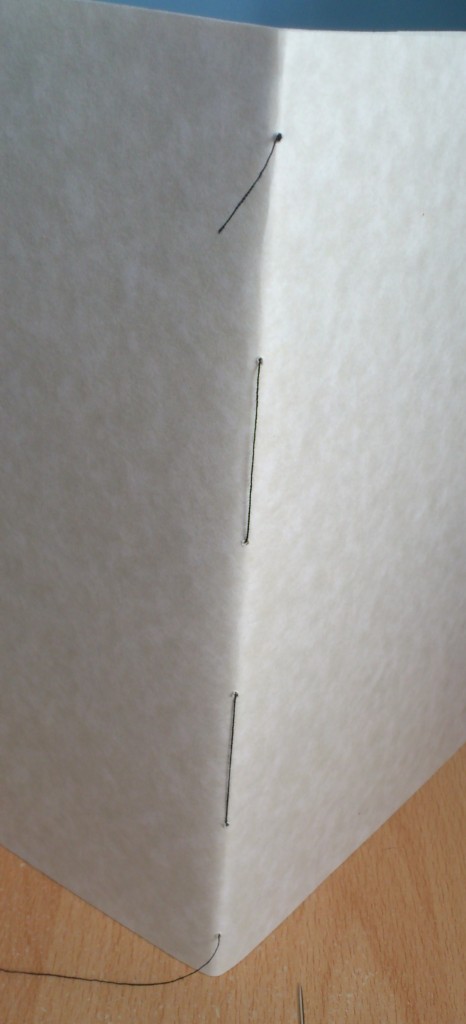 On reaching the bottom there should be three sections of thread on the inside with equal length gaps and two sections on the outside. I then thread back up to the top, filling in these gaps, so by the time I’m back where I started it’s a continuous line of thread both inside and outside (with the 1.5cm margin at top and bottom still).
 Repeat this another two times (3 times down and then 3 back up in total) and then tie off the lose ends on the outside. You should then have a continous line of black down the back of the section and in the middle of the section, with your small knot on the back where it can be covered up.
 Then you need to mark out to write in straight lines (unless you feel confident about writing neatly and consistently). Now depending on how thin your paper is you probably won’t be able to print out a sheet with lines on to hold underneath, so I’ll assume you can’t and explain my other, slightly more complicated method. This will mean you need a very good rubber that doesn’t smudge and a lot of patience, however. You will also need to make sure the little lines you make are feint enough to be rubbed out but prominent enough to see while you’re writing.
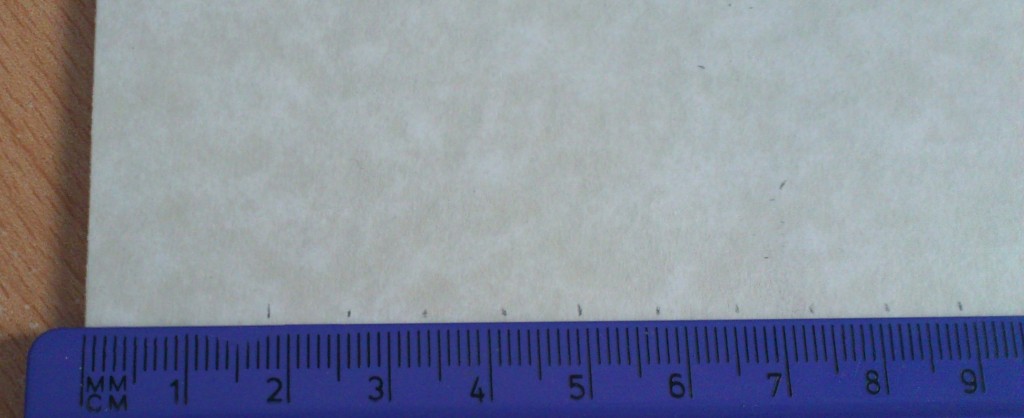 Firstly I mark out my lines (8mm wide, leaving room for 10mm at the top and not marking the final line at the bottom so there’s room for a page number) by putting the ruler up against the left hand edge of the page(the bottom on the pictures) and making a small not too deep mark on the right hand side. I do this all the way down and then flip the page 180 and repeate the process for the other side.
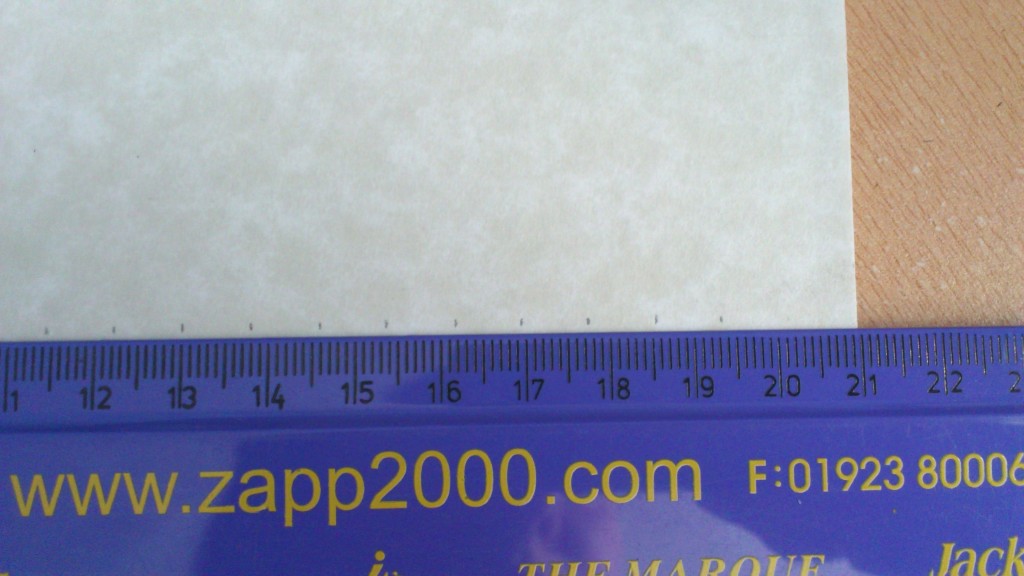 I’ve now got marks to aim for to help keep my lines straight. It’s not entirely fool proof but they act as a guide and often you can write over the top of them so it hides them as you go.
When I’ve finished writing every page in a section I go back through with that really good rubber and remove the marks that can be seen still. It doesn’t take too long and it’s not entirely perfect. Anyone looking really closely can often see one or two remaining here and there but anyone reading through and focusing on the words is sless likely to notice and at a glance it should be fine.
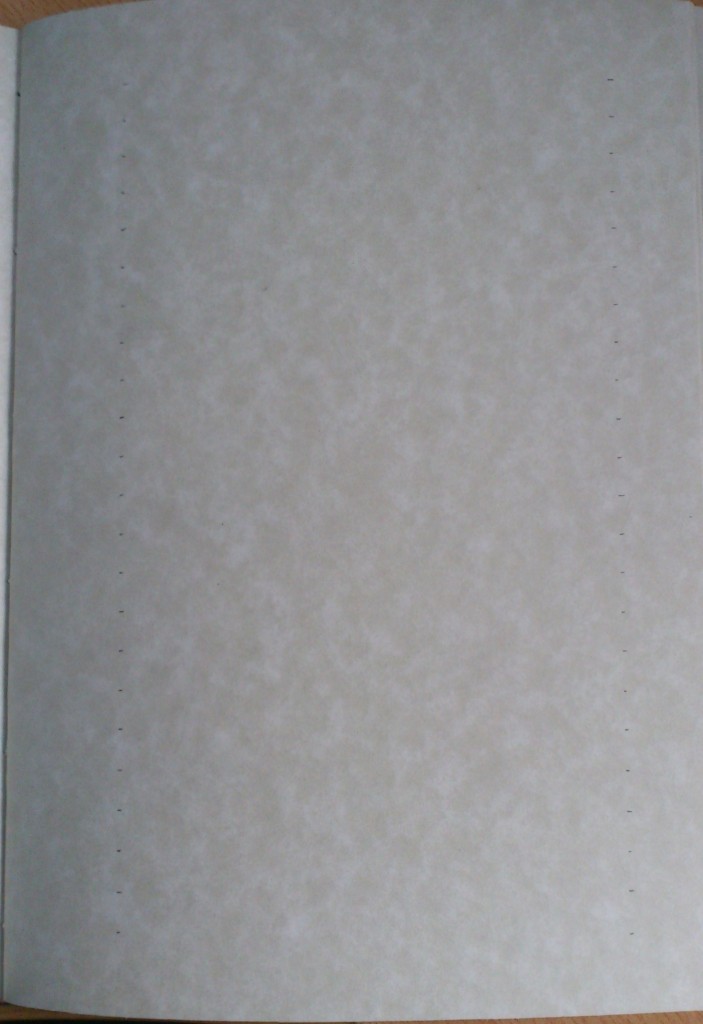 Viola you have your first section.
This is when the hardwork begins. I then write out the book as far as the middle A4 sheet (the one either side of the centre stitching) and stop before I write on this middle sheet (for clarification see the two next photos). At this point I work out how many words I’ve got written and just double check I’m on target for the right number of pages.
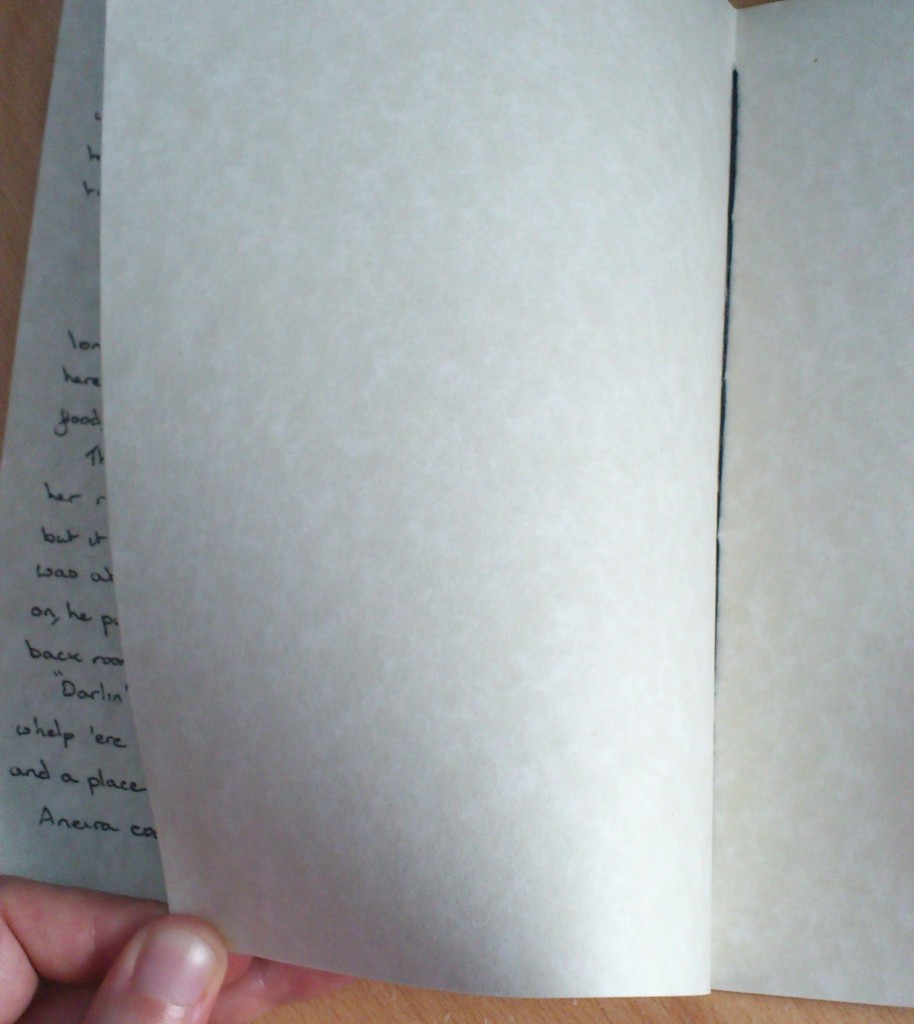 The reason I stop here is because the easiest sheet to remove (if I need to) is this middle one. If I found I needed to just take out 1 sheet from the full count (in this case 22, becoming 21, or 88 pages of 185 words becoming 84 pages), I would remove the extra sheet from the section I’ve not made up yet and have 7,7,7, rather than try and undo what I’ve got already. And the same if I needed to add 1, I’d add it to one of the later sections.
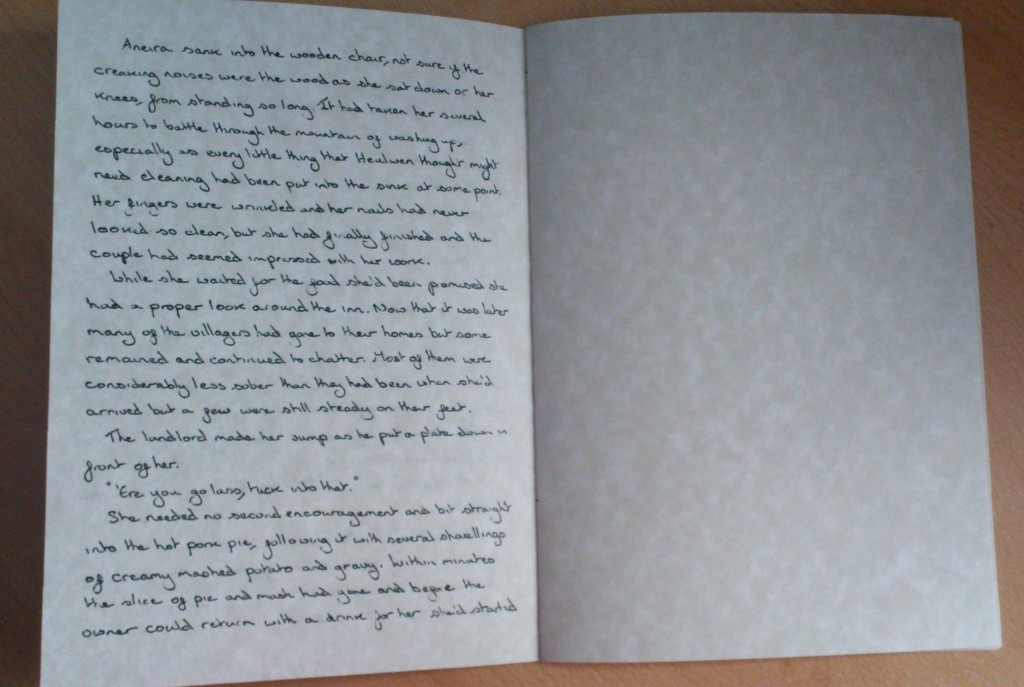 If, however, you’re already starting with uneven numbers of pages and it’s going to make the difference between sections more than 1, you can remove this page by cutting very carefully up the centre fold.
Adding pages to this section is significantly more difficult (and less likely to need to happen as you always have to round up pages anyway) so unless you really can’t add pages to another section don’t add any at this point. If you do have to add some, the best way is probably to undo your stitching (you might have to cut some knots off), add the page to the middle and then re-stitch.
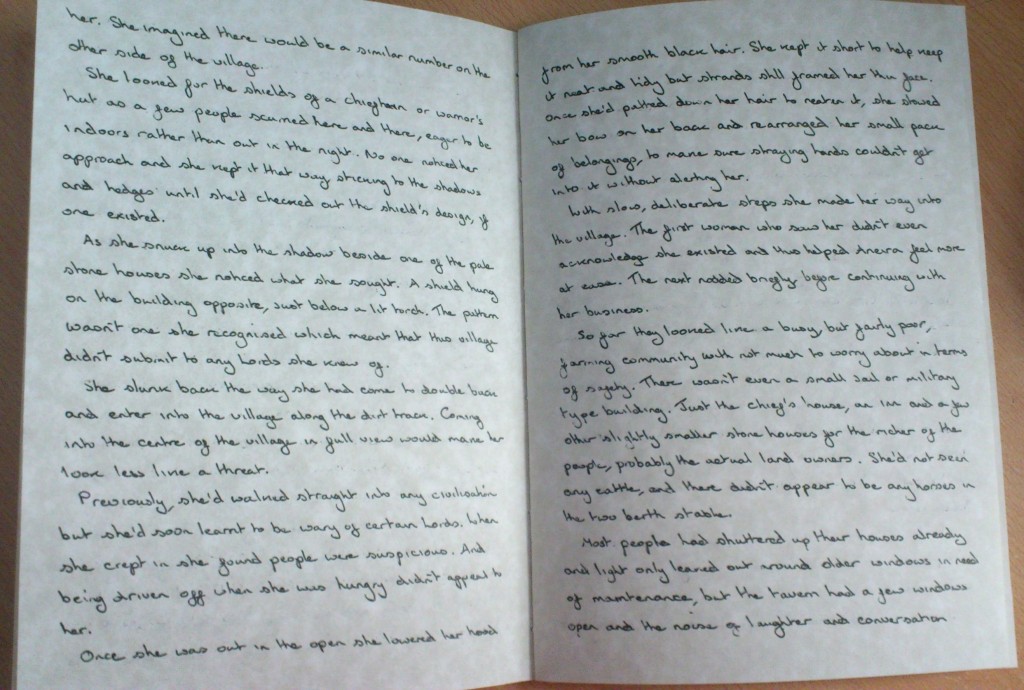 Once this section is complete and every page is written on, you can move on to making your next section, follow all the steps above and, just in case, I usually recalculate my word count and page requirement at this point too, always remembering it’s a lot easier to take pages out of the middle of a section than it is to add them.
In my next how-to blog I’ll run through stitching the sections together and then making a binding for the whole thing.